
Okay, so you would like to deploy your databases in Azure! Great. Your resource limits are based on the deployment you chose. Managed instance and Azure SQL database resource limits depends on the Service tier, compute tier, the number of vCores you chose.
Before migrating the databases to Azure, knowing the details of what deployment model (IaaS/PaaS), deployment method (Azure portal, Azure CLI, PowerShell, ssms tool), region you wish to deploy, Service tier, compute tier, purchasing model, hardware and size of your databases is crucial (Source).
The deployment option and the service tier you chose directly depends on the resource limits that you get. Compute resource limits like the memory, storage limits like max size of your database log file, how long the backups are secured, IOPS, tempdb size limit etc.;(Source).
There are couple of things that we need to focus on while deploying the Azure SQL database. The region where you would like to deploy, under which resource group you would like to place the database, logical server name to connect to the Azure SQL using ssms, Admin SQL login credentials, purchasing model and service tier.
Creating the Azure SQL database using the portal is the basic method of creating a single database. Remember, you cannot restore a native backup in Azure SQL database but restore using the bacpac file. In MI, you can natively restore the database using the url.
Any resource that you create requires the subscription, resource group, database name, logical server name and credentials,

While configuring, you will have an option to chose if the database needs to be created as a part of the elastic pool (databases in the pool will share the compute resources together).

As you click on the configure compute and storage, you can chose the service and compute tier here.
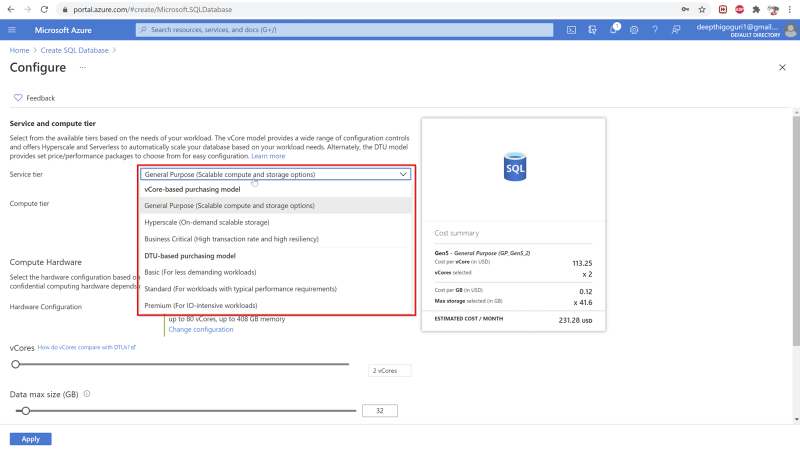
If you chose the general purpose, you will have the compute tier options “provisioned”/”serverless”.

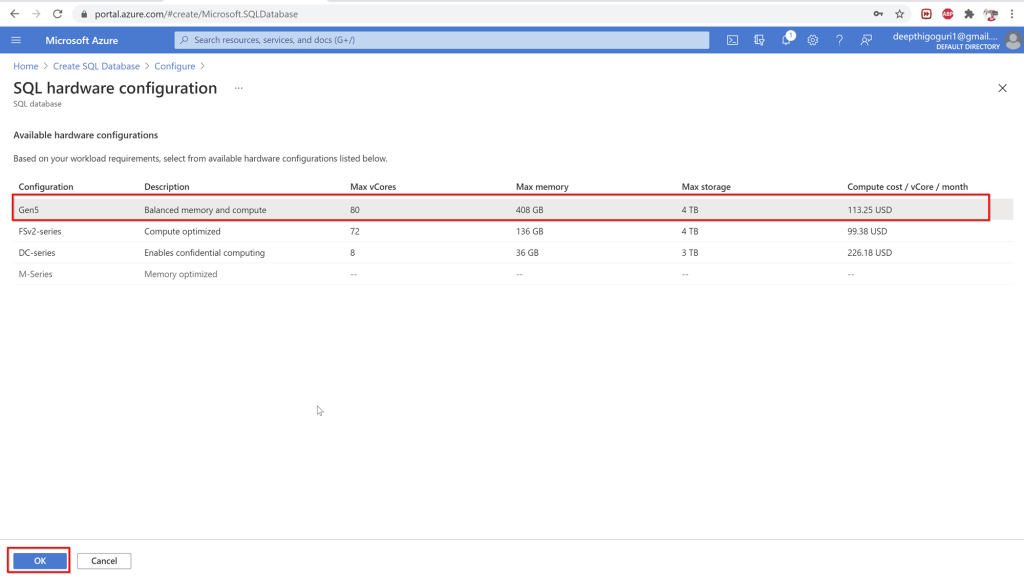
Chose the hardware configuration.

Select the hardware
Scale up or down to adjust the number of vCores and data max size.
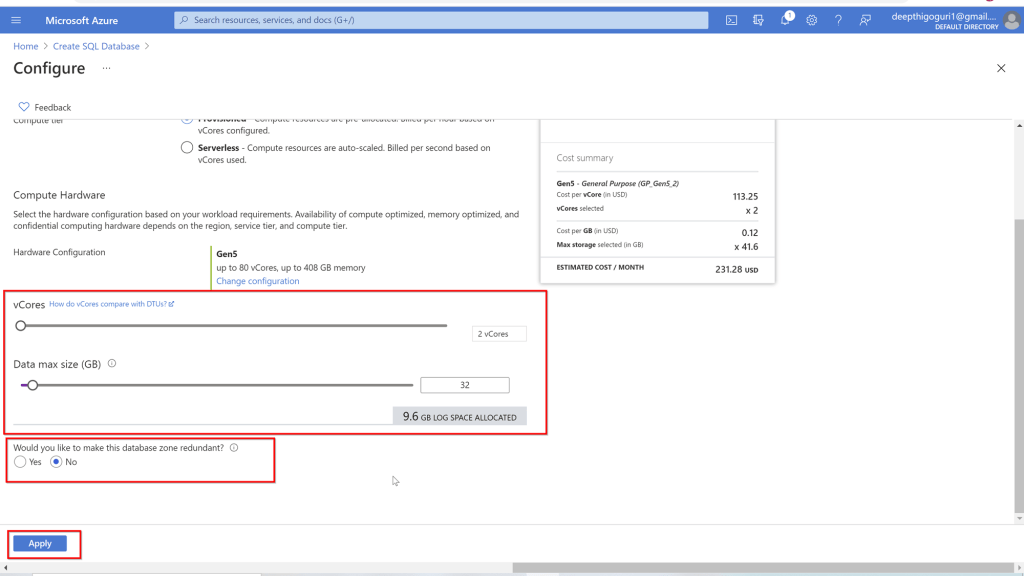
Backup storage redundancy has three options. To find the differences among those, see here.

Networking tab:
Network connectivity:
No access: no one will have access
Public endpoint: quickly connect but not secure.
Private end point: Most secure way to connect by creating the private ipaddress to connect to from your virtual network.
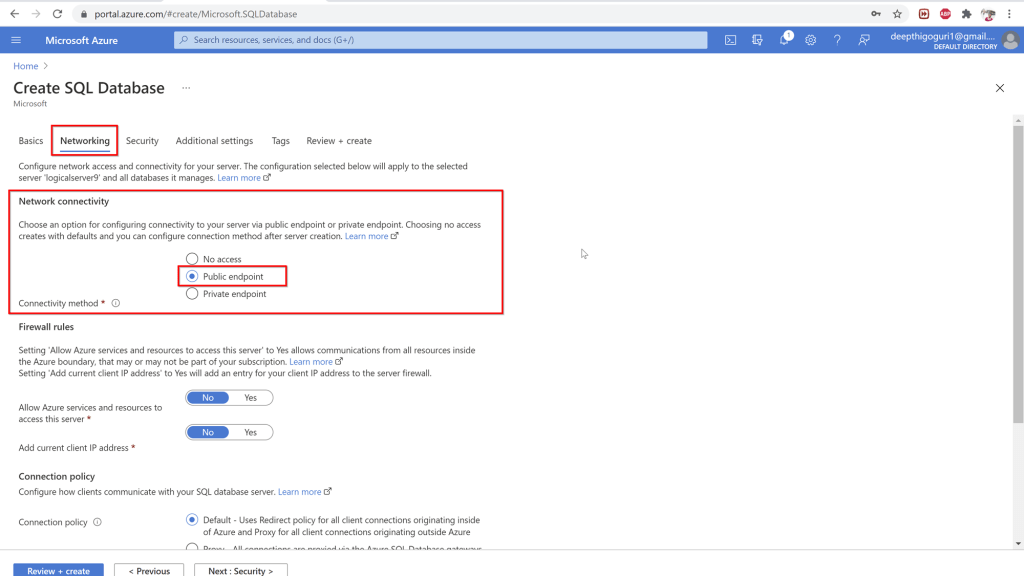
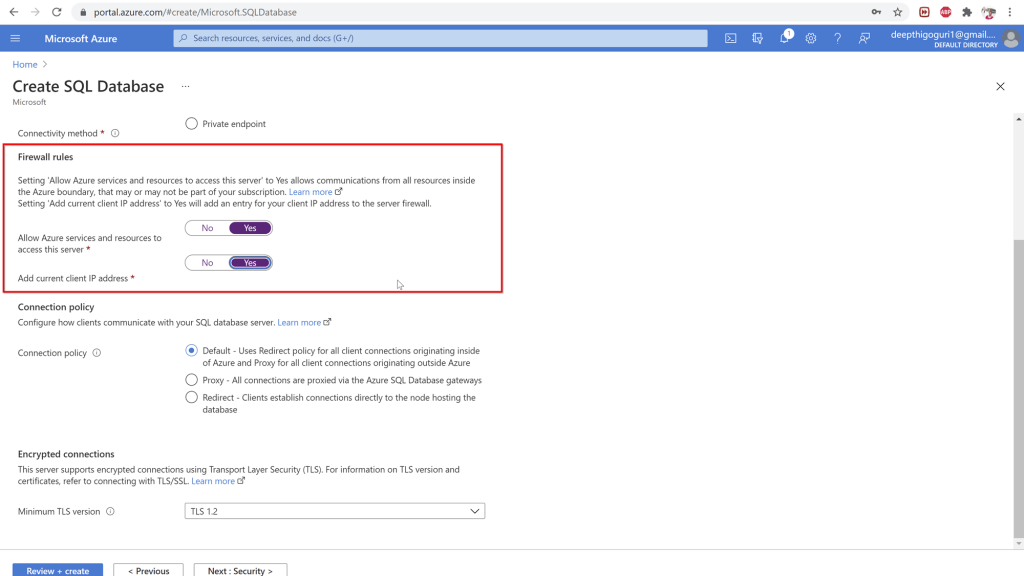
Firewall rules:
Allow Azure services and resources to access this server: Any resources in azure can connect to your server. Not a secure option. try to avoid choosing this option.
Add current IP address: enabling this will add the client IP address so it can connect to the server.
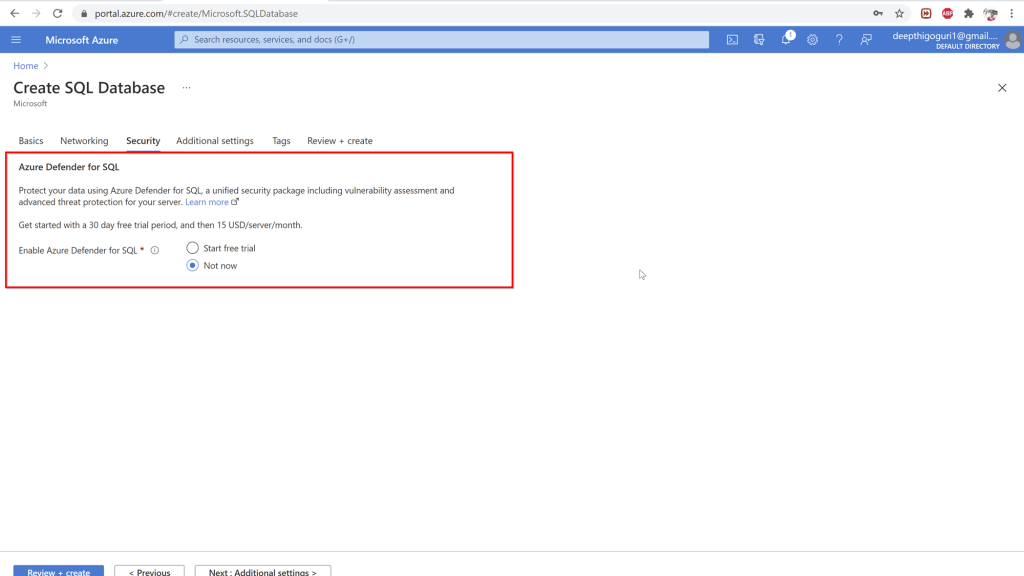
Under the Security tab, you will see the Azure defender for SQL. This is not a free service. You will have to pay 15$ per server per month.
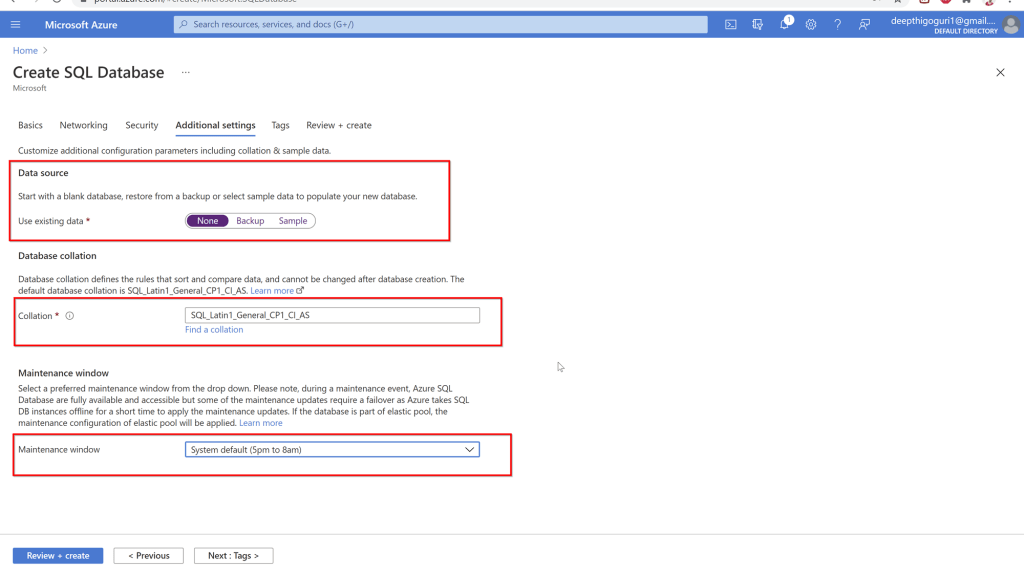
In the additional settings, chose how you want the database to be created. None will create just the database name and no objects. Backup is to get the database from the backup file and sample creates a sample of the adventureworks database. Select the collation while deploying the database. For the Azure SQL database, you cannot chnage the collation later.
Chose the maintenance window for the options provided.
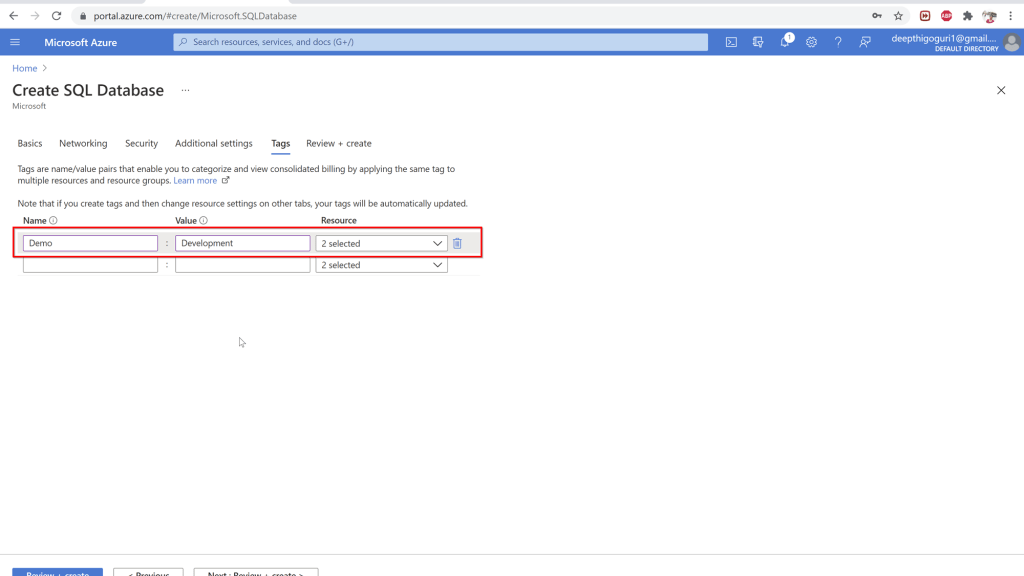
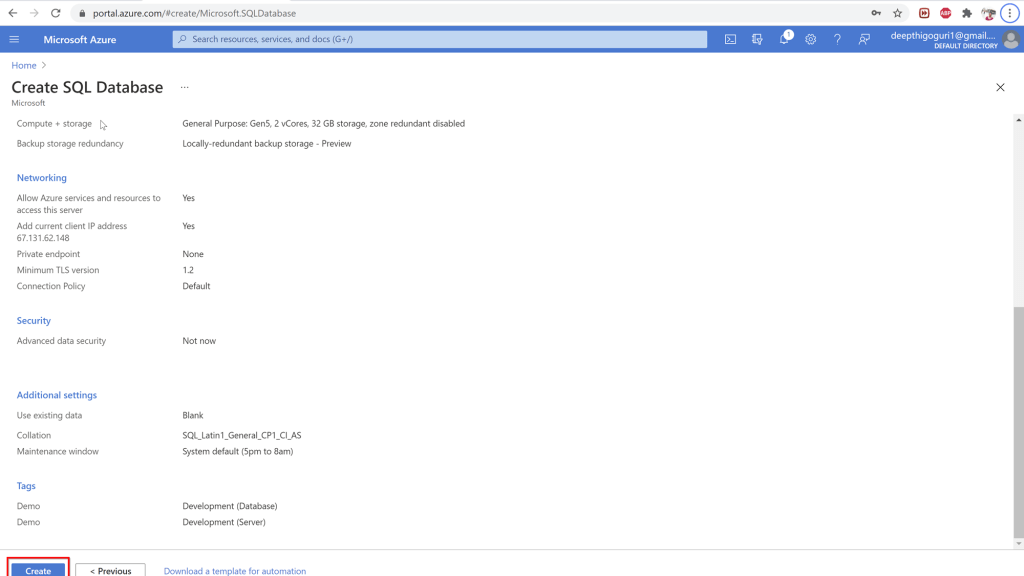
Under the tags, name the tag for this resource and a value. This will help to identify the resources later.
Click on review and create. Click on create at the bottom of the window. This will create a new Azure SQL database.
After the deployment is complete, you will be able to copy the server name, open the ssms and connect to the server using the admin login and password credentials.
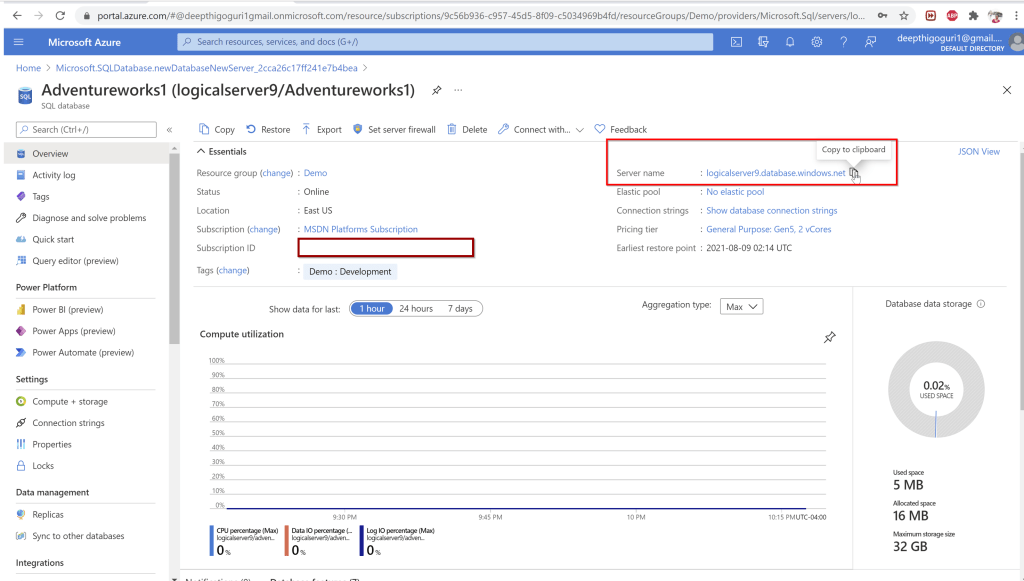
Connect to the server using the credentials for the logical server admin with password


Things to remember:
- You can chose the size and the number of the files for the Managed instance. You cannot chose the storage in MI and Azure SQL database. For Azure SQL, you cannot chose the number of database files.
- T-log file for the Azure SQL database is 30% of the data max size.
- Compatibility level is available for both MI and Azure SQL database
- Query_store is turned on for all Azure SQL databases
- Azure SQL Databases recovery mode is always full
- You cannot stop and start the Managed instance and Azure SQL database
- Proxy and redirection are the two ways that we can connect to Azure SQK database. Proxy connection is like a friend who visits your apartment always need to connect to the security guard (known as gateway here) before reaching your apartment (database). This is the default setting for connections outside Azure.
- Redirect connection is like your friend gets an additional key as an authorized person for the apartment by connecting to the security guard (the gateway) and from that point the next connections can be directly reach the apartment (database). No need of additional hops in between. Redirect connection is default connection type within azure. To use redirect connection, ports 11000- 11999 needs to be opened.
We are going to learn about fundamentals of security in azure in the next blog post. Thanks for reading!
References:
